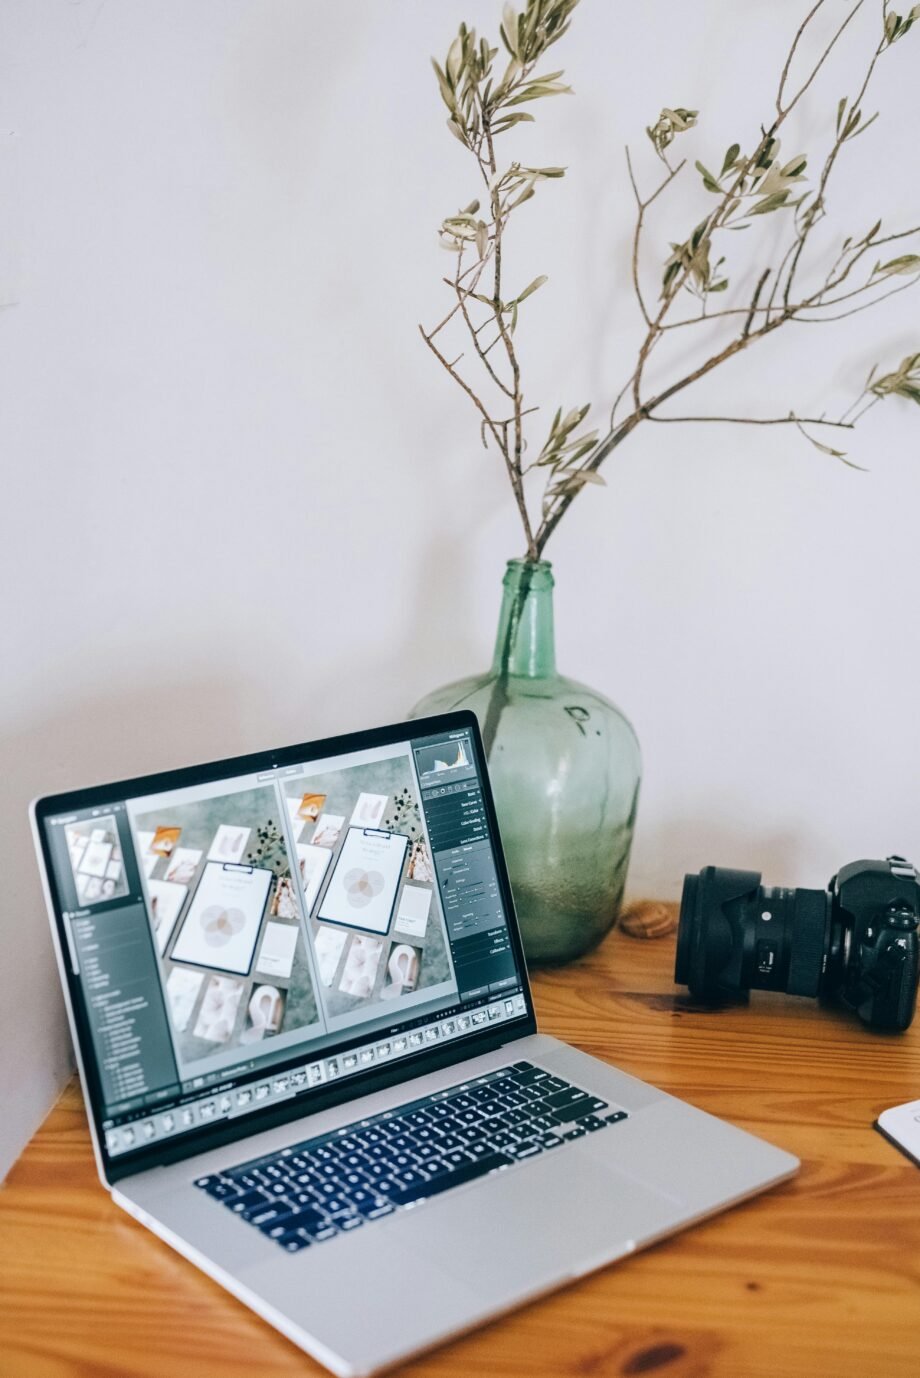
Editing photos to look professional doesn’t require expensive software. With free tools and a few essential techniques, you can enhance your photos for social media, websites, or personal use. Here’s a step-by-step guide on how to edit photos like a pro for free!
1. Choose a Free Editing Tool
- Tools: Use platforms like GIMP, Canva, Snapseed, or Pixlr.
- Why: These free tools offer powerful editing features comparable to paid software, perfect for beginners and intermediate users.
2. Crop and Straighten the Image
- How: Use the crop tool to remove unnecessary parts and adjust the alignment for a balanced composition.
- Why: Cropping and straightening create a stronger focal point, making your photo look more polished.
3. Adjust Exposure and Brightness
- How: Increase brightness, adjust shadows, and play with contrast to make the photo pop.
- Why: Proper lighting enhances details and colors, giving your photo a vibrant, professional look.
4. Balance Contrast and Highlights
- How: Use the contrast slider to make dark areas darker and highlights brighter without losing detail.
- Why: Good contrast adds depth and makes the photo more visually appealing.
5. Tweak Saturation and Vibrance
- How: Increase saturation for a more colorful image or decrease it slightly for a softer look. Adjust vibrance to enhance dull colors without oversaturating.
- Why: Adjusting colors can make your photos look lively and professional without being overly edited.
6. Sharpen and Enhance Details
- How: Use the sharpening tool to clarify edges and small details. Avoid over-sharpening, which can create noise.
- Why: Sharpening helps details stand out, giving your image a high-quality finish.
7. Use Filters and Presets Wisely
- How: Apply filters or presets from free editing apps, then adjust them to avoid an overly processed look.
- Why: Filters provide a cohesive aesthetic to your images and can save time in achieving a consistent look.
8. Reduce Noise for a Cleaner Image
- How: Use noise reduction tools available in Snapseed or GIMP to smooth out grainy areas, especially in low-light photos.
- Why: Reducing noise makes the image look cleaner and more professional.
9. Retouch and Remove Blemishes
- How: Use the spot removal or healing tool to remove minor imperfections like dust, scratches, or blemishes.
- Why: Cleaning up distractions makes the subject of the photo more appealing and professional-looking.
10. Experiment with Background Blur
- How: Use selective blur to make the background softer, bringing attention to the main subject.
- Why: A blurred background can add depth and make your subject stand out, mimicking a professional DSLR effect.
11. Play with Shadows and Highlights
- How: Adjust shadow and highlight levels to create contrast, adding drama or softness to the image.
- Why: Shadows and highlights can emphasize important parts of the photo, giving it more impact.
12. Add Text and Graphics (Optional)
- How: Use free tools like Canva to add stylish text or graphic elements to your photo.
- Why: Adding text can make images more informative or shareable on social media.
